Using the heat compression machine, we are able to make rather elementary shapes, like hexagons. This is probably the most common Precious Plastics first project because of its relative simplicity. However, we have been testing it out with different colors, brands, and plastic types. Outlined below we have our process, findings, and future avenues of inquiry.
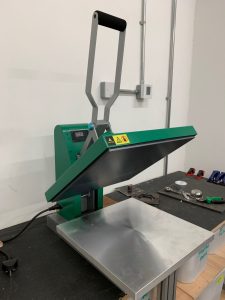
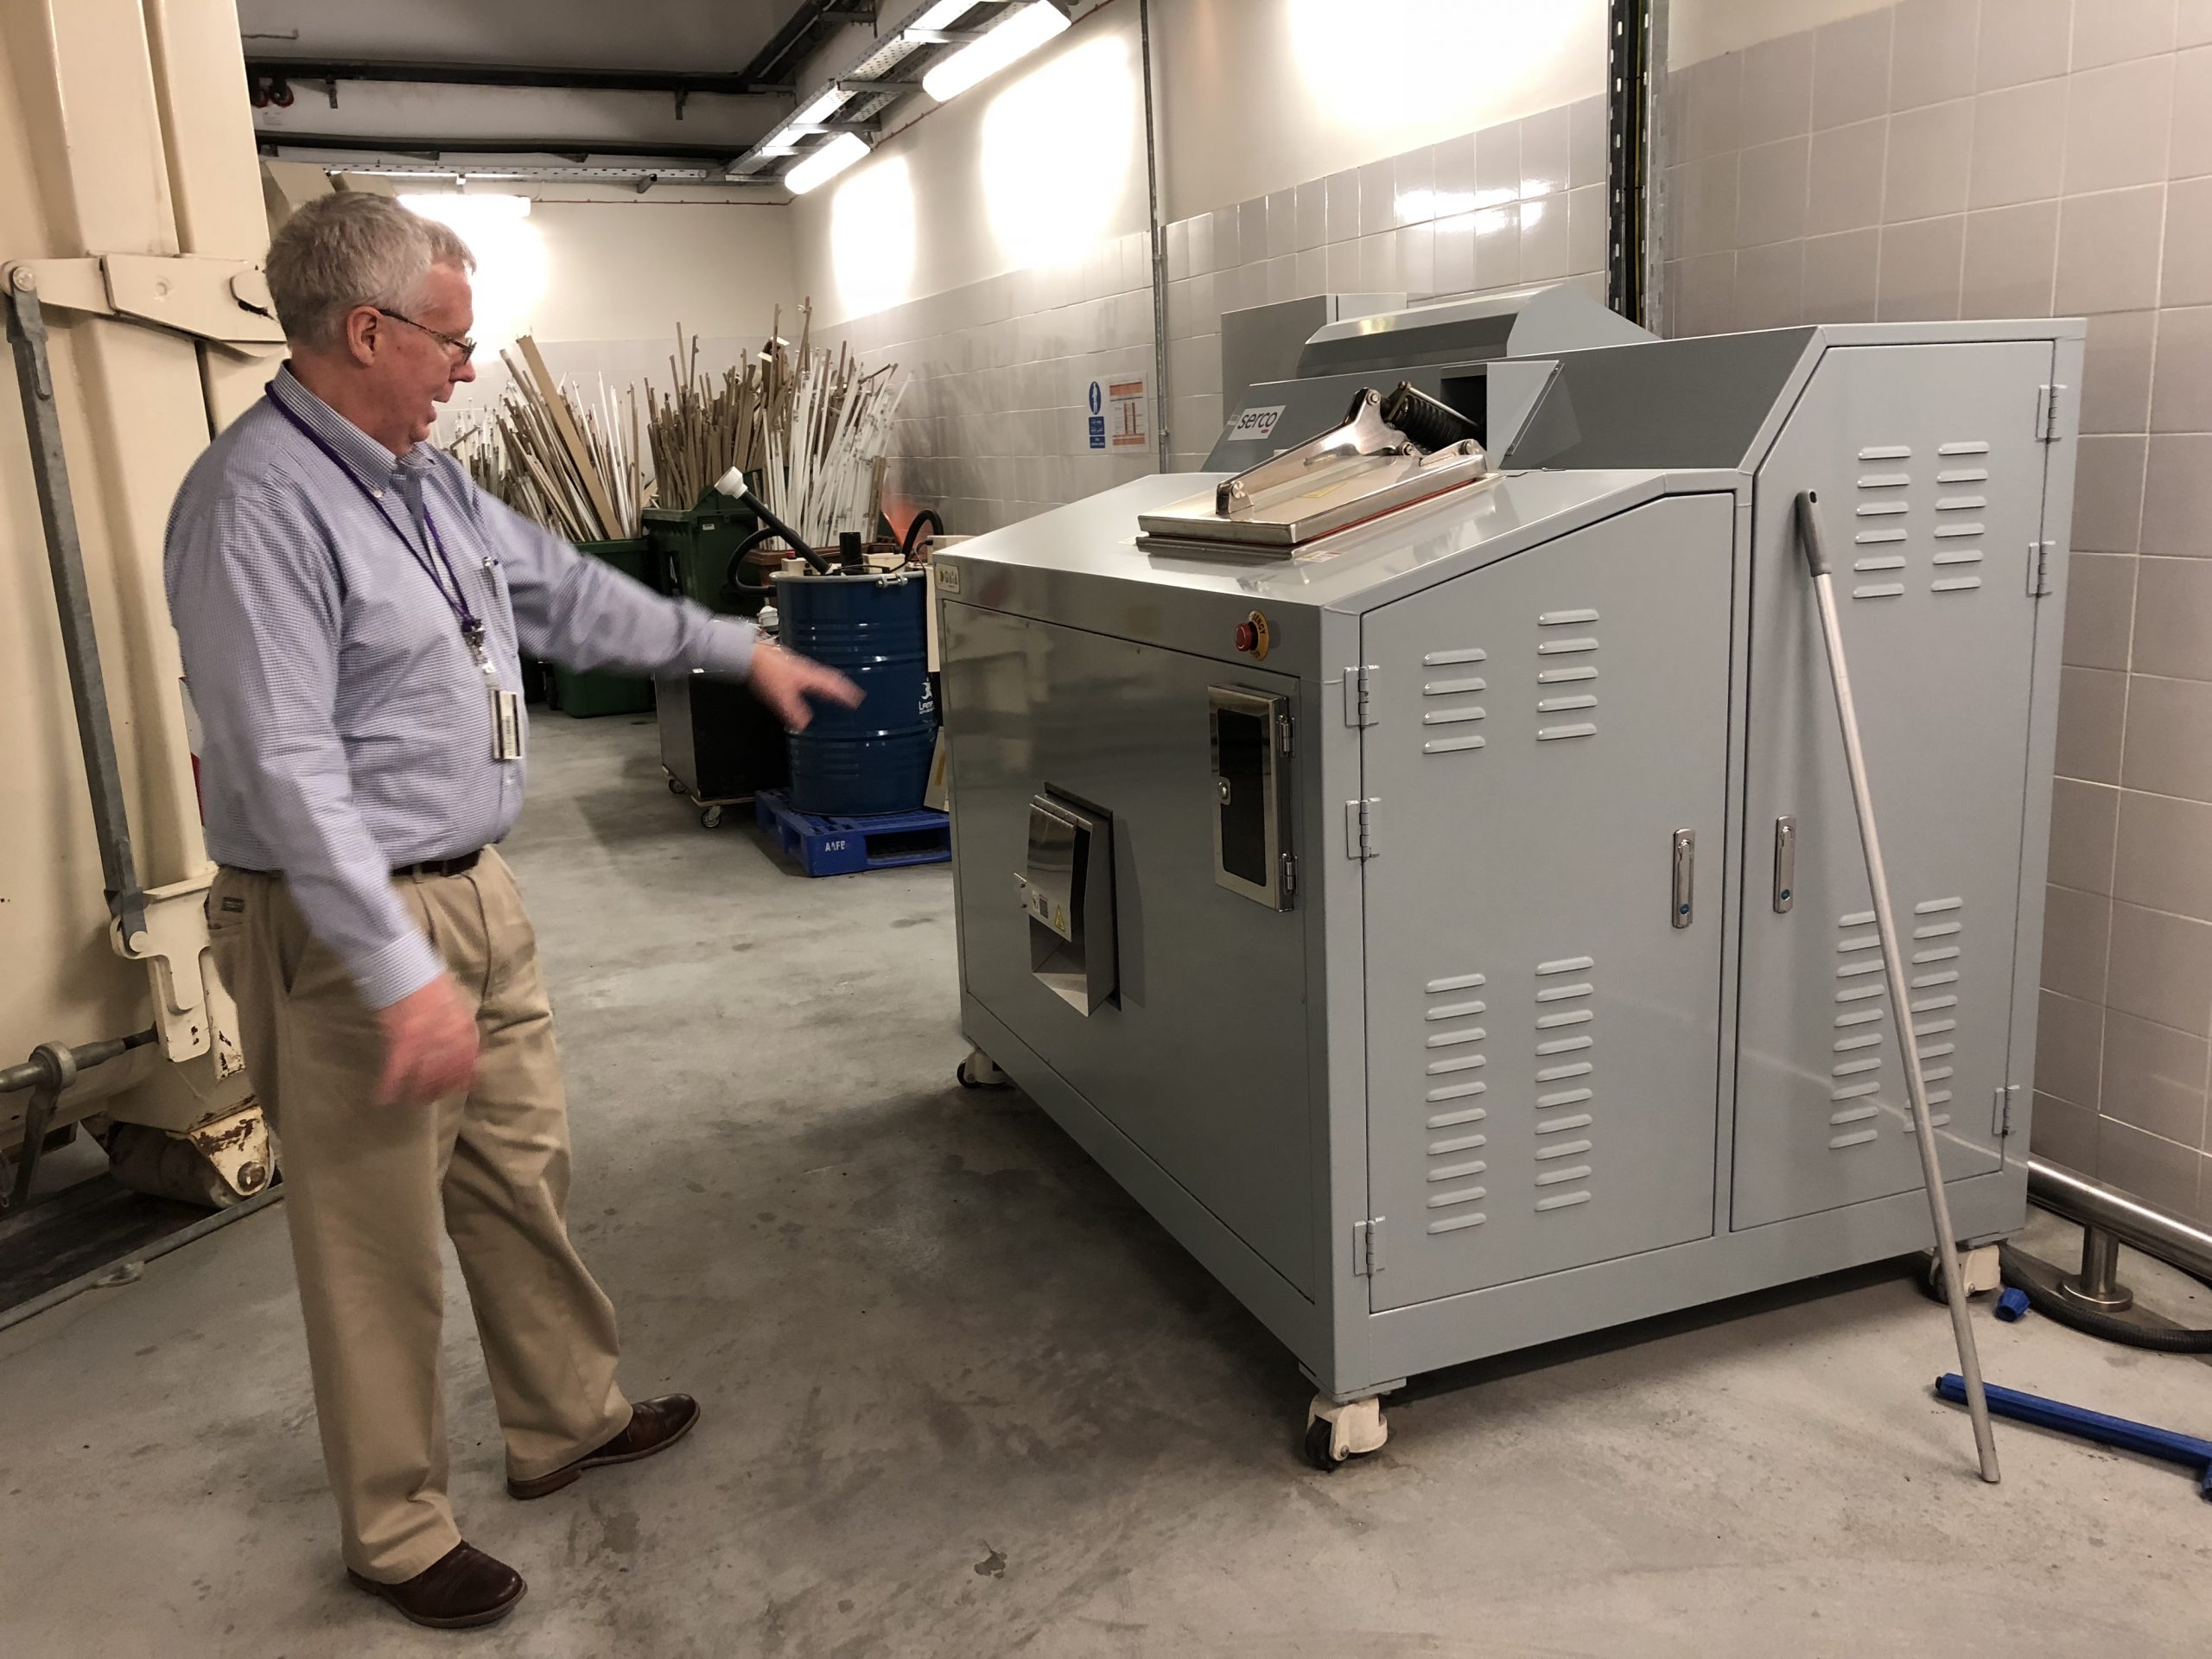
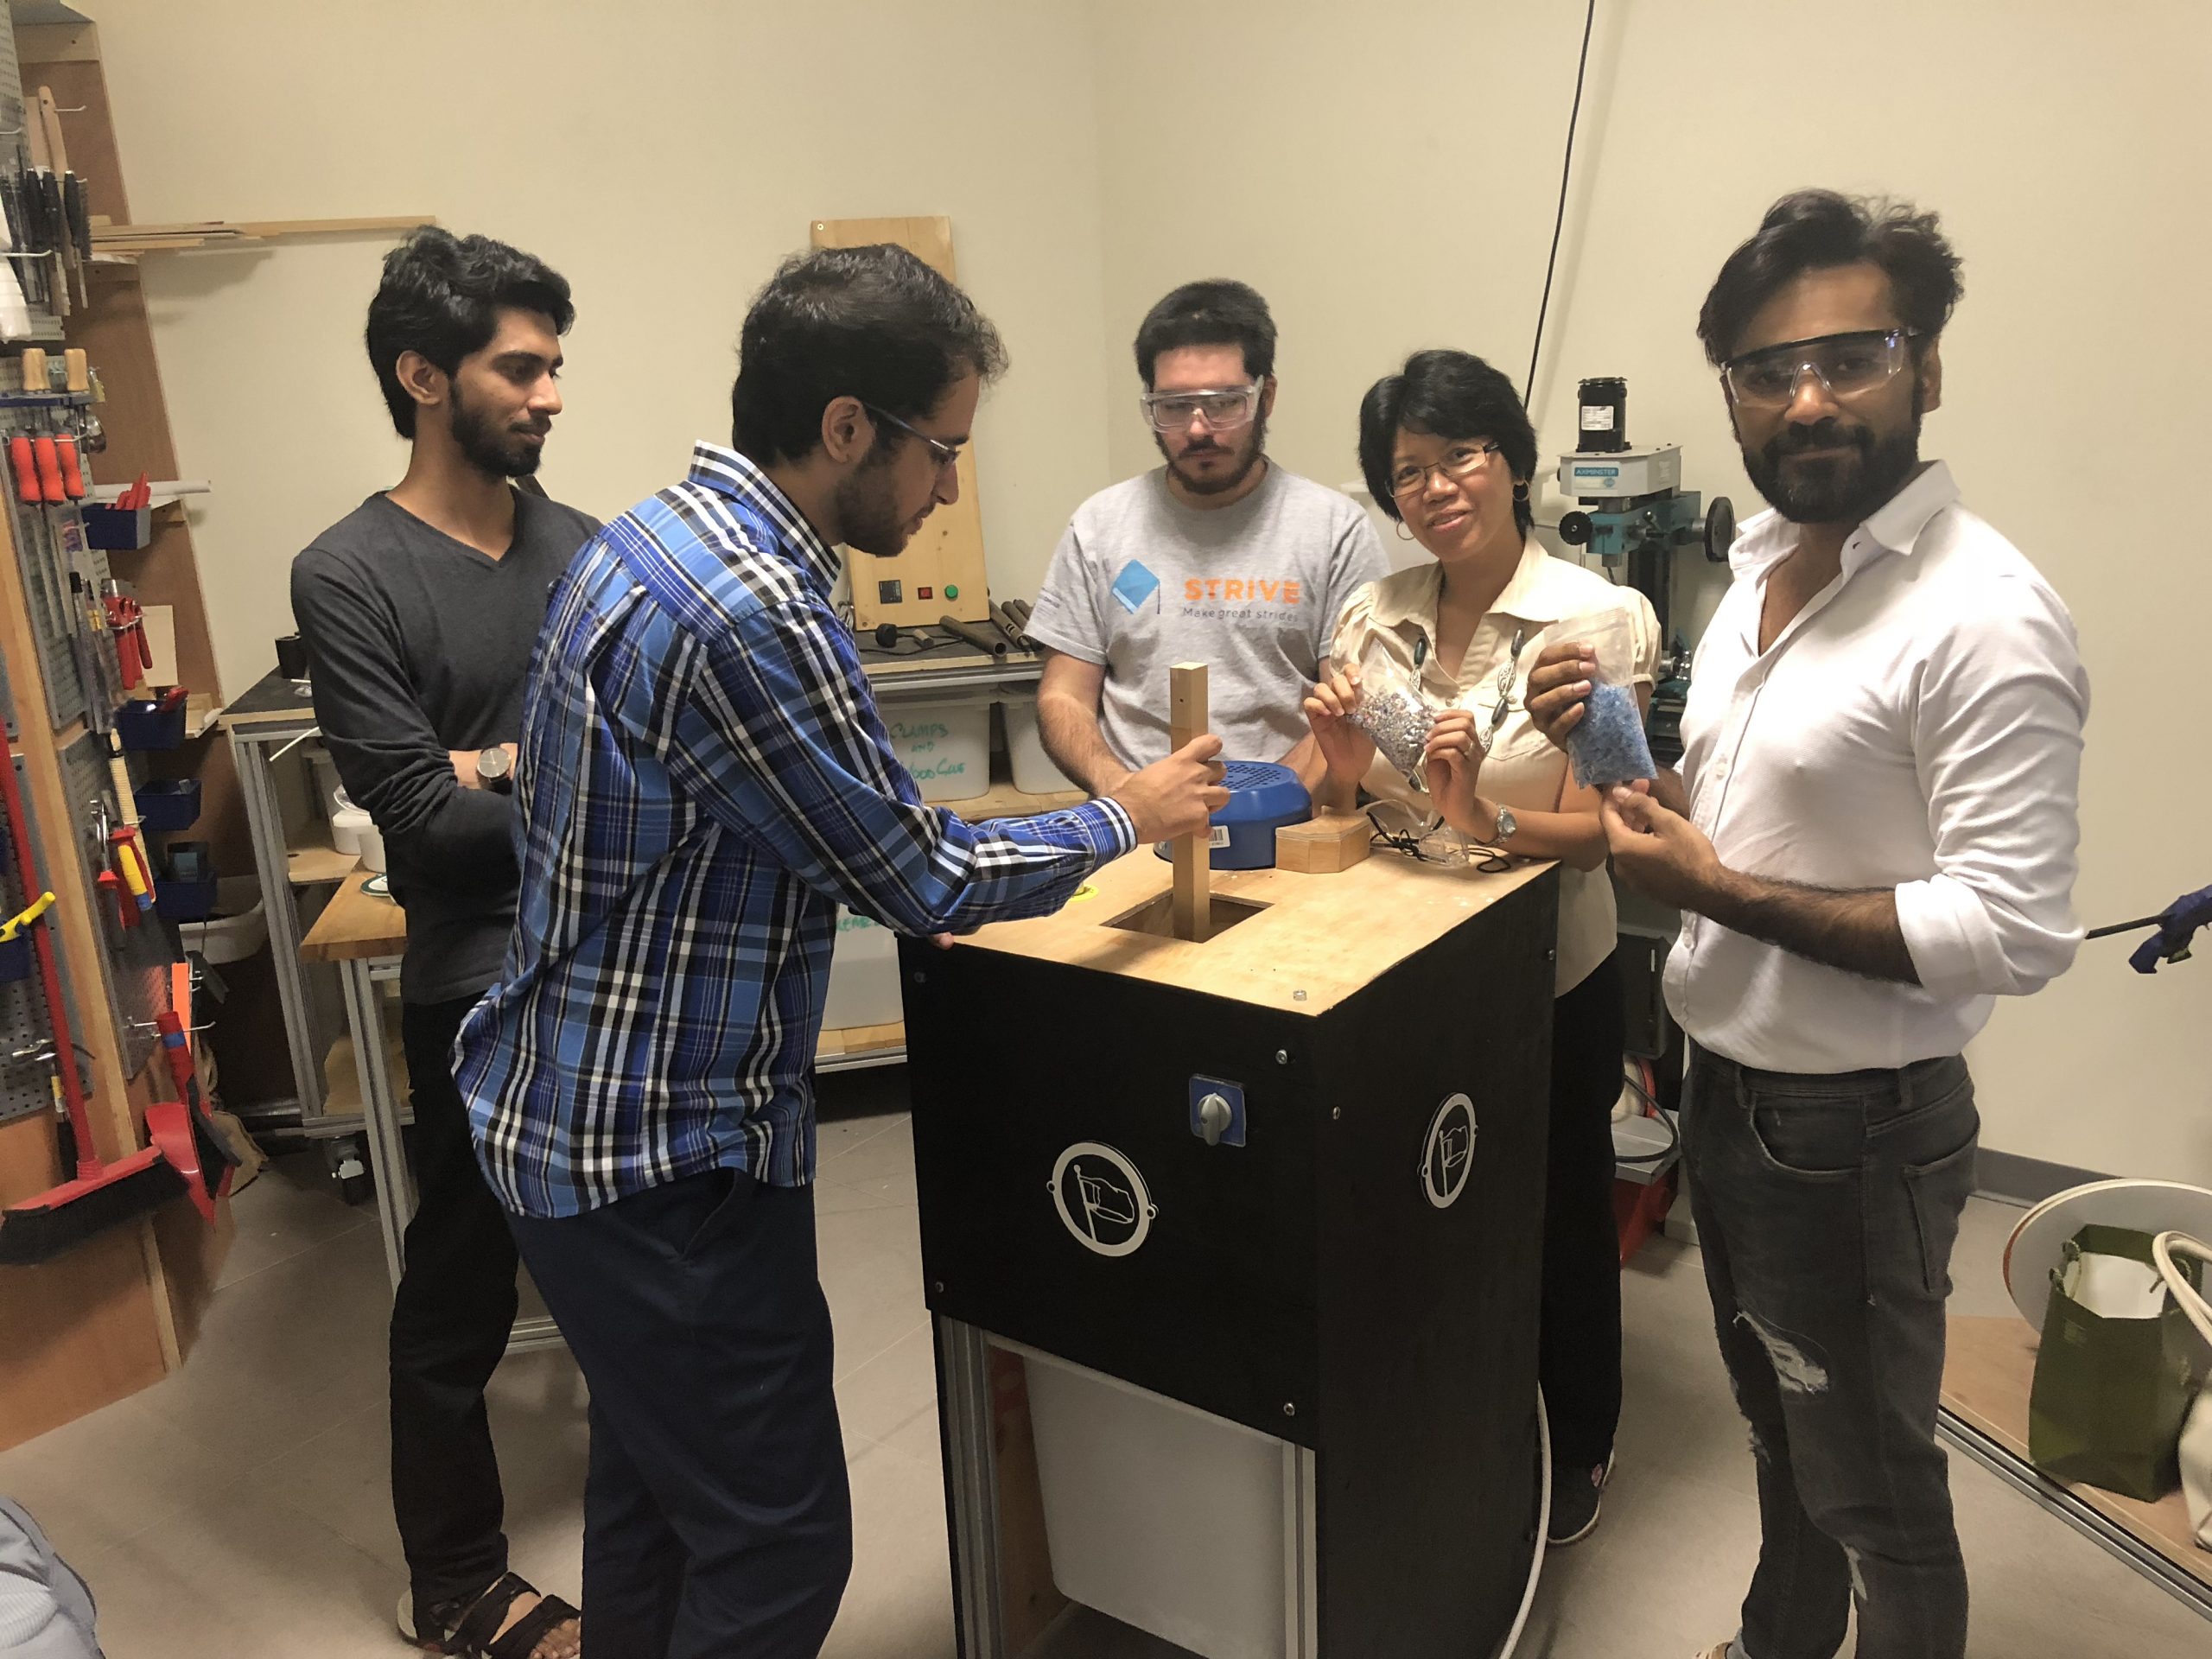
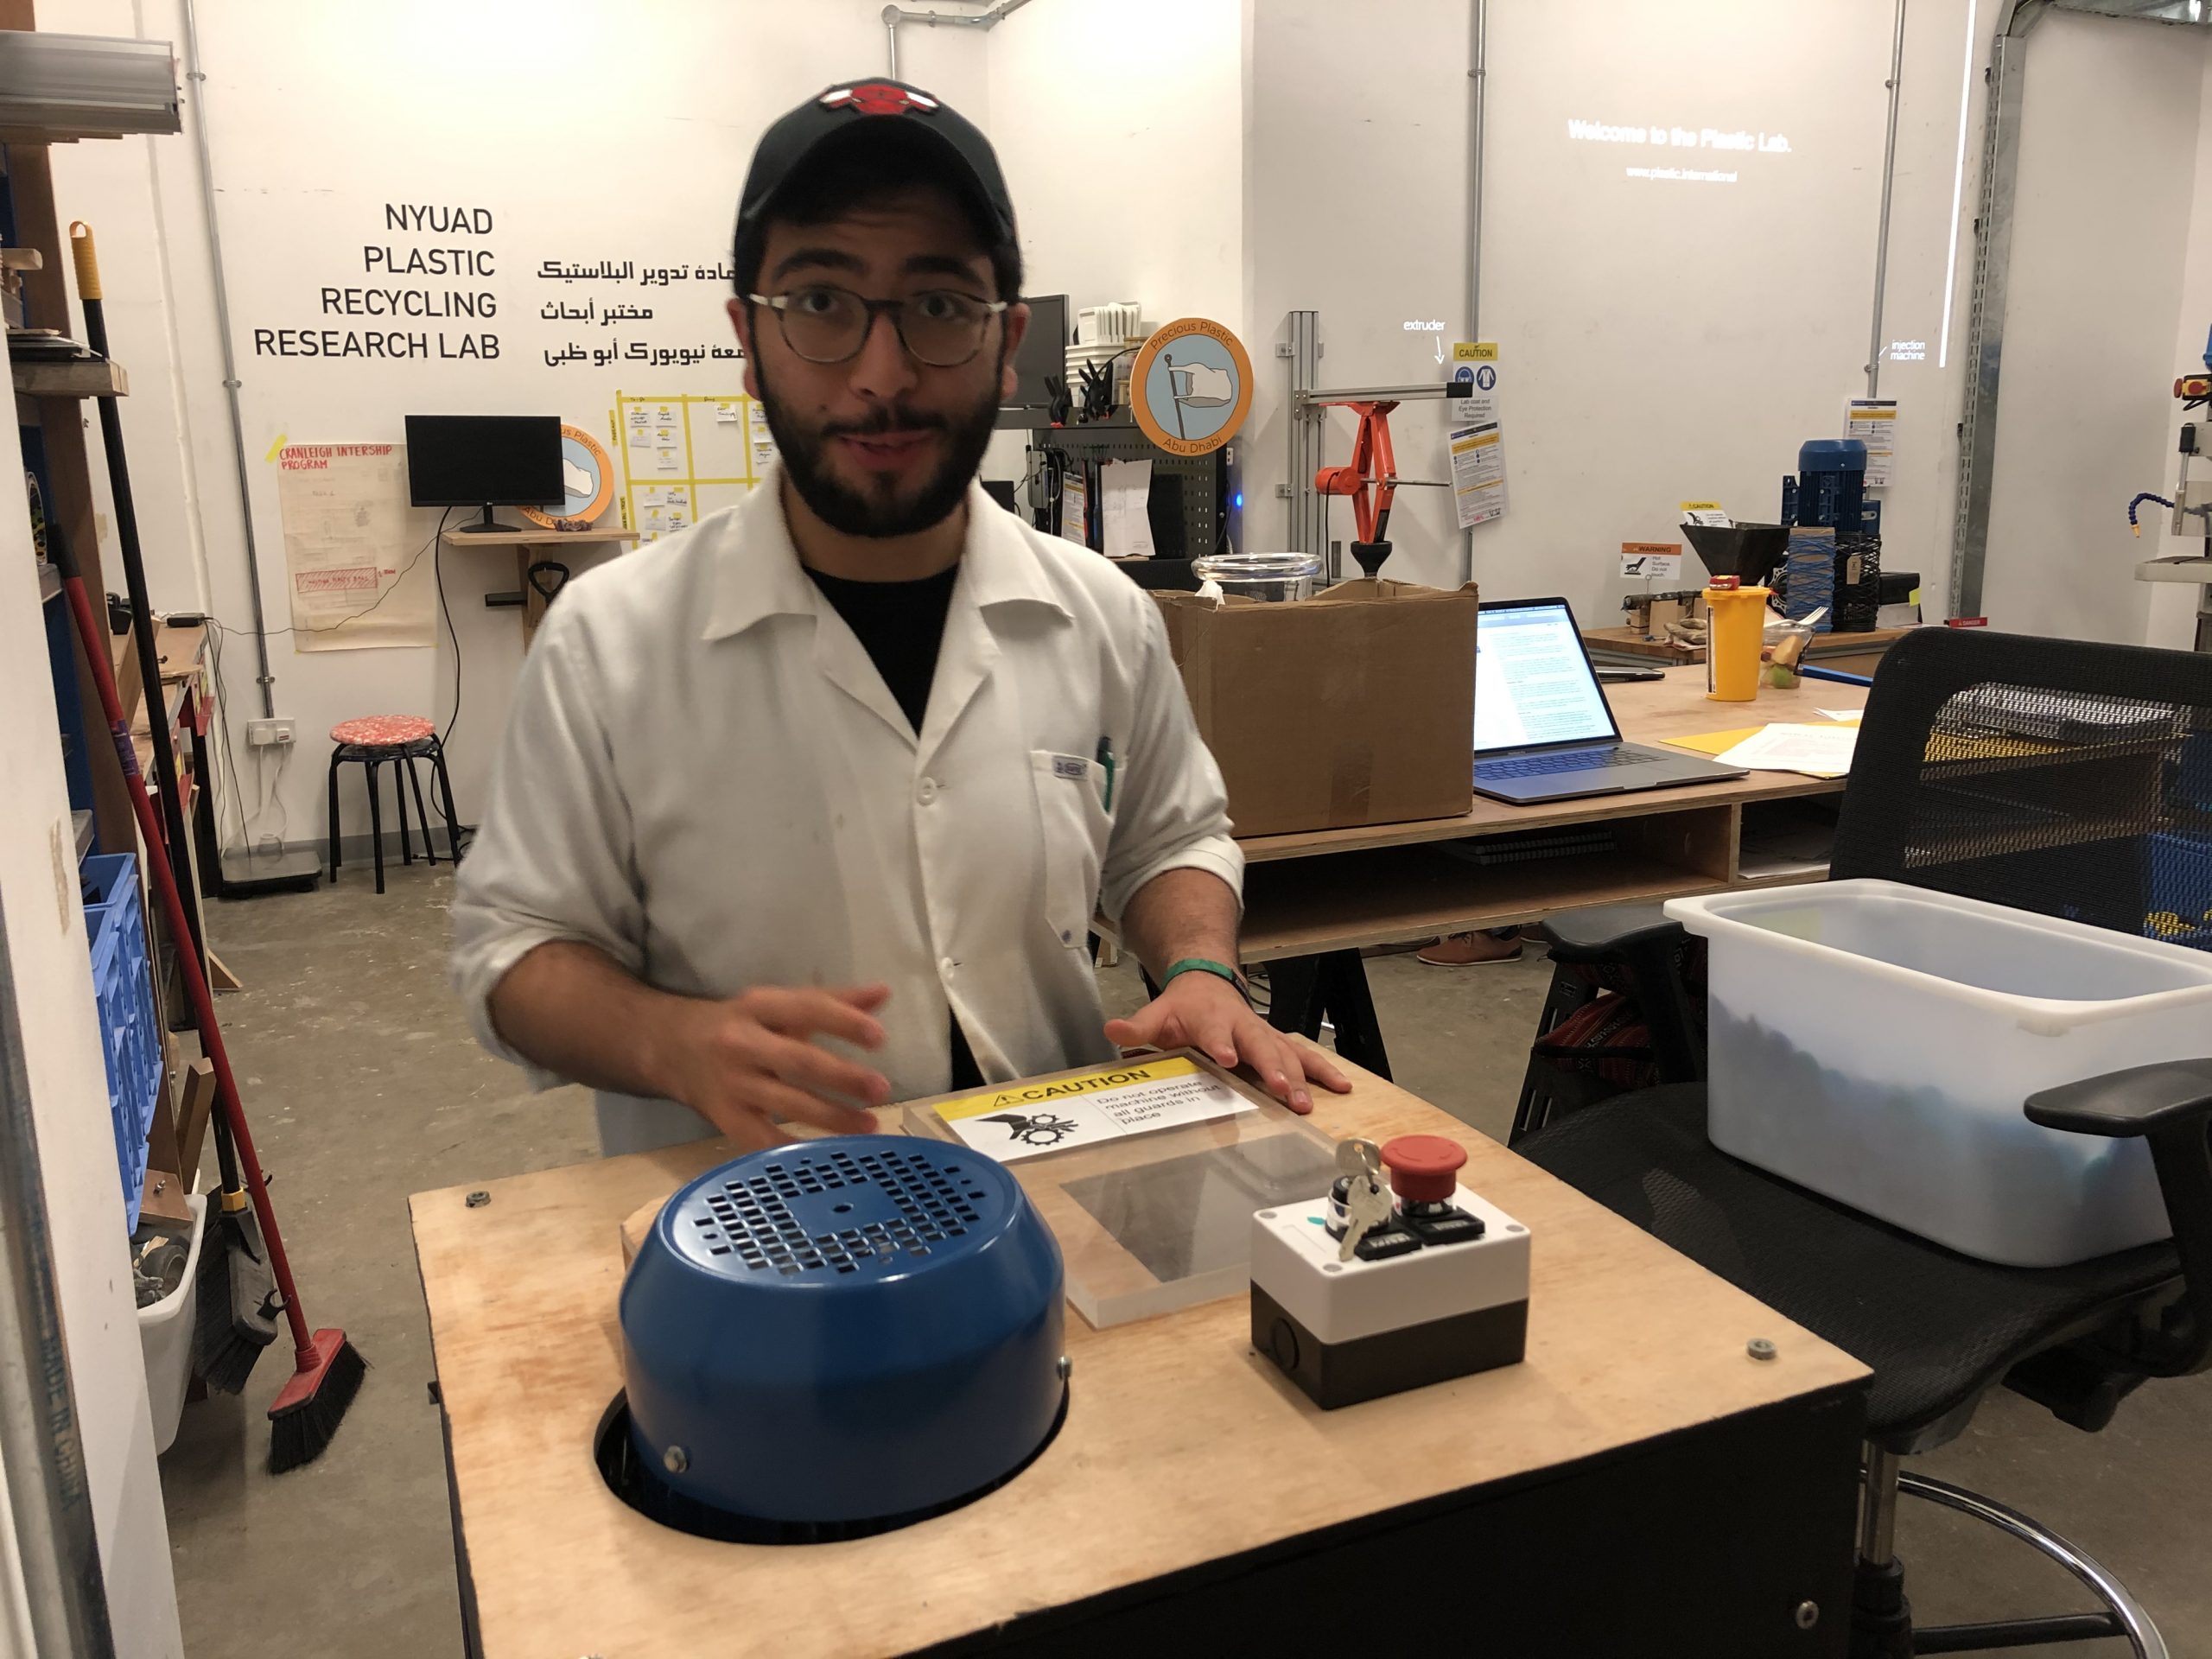
(Our heat compression machine)
Our process:
- Place paper sheet below (for preventive measures)
- Place solid metal plate (filled fully)
- Stack another solid metal hexagon mold plate
- Add 115 ml of whichever color, number 2 plastic (HDPE) into the mold
- Place paper sheet on top
- At 275 ºC for 15 minutes, heat the mold
- At the end, take the molds out, place another solid metal plate on top (this prevents the piece from puffing out, as it usually does), and let cool for 10 minutes
- Flip the molds (they will most likely not be full at the edges, like the photo below), so fill the edges with about 30 ml of the same color of HDPE
- Place back into the heating machine for another 7.5 minutes (remember to place a paper sheet on top of it!)
- Take it out and place the metal sheet on top of it to prevent puffing, waiting about another 10 minutes
- Paper will most likely stick to it, but you can take it off with water
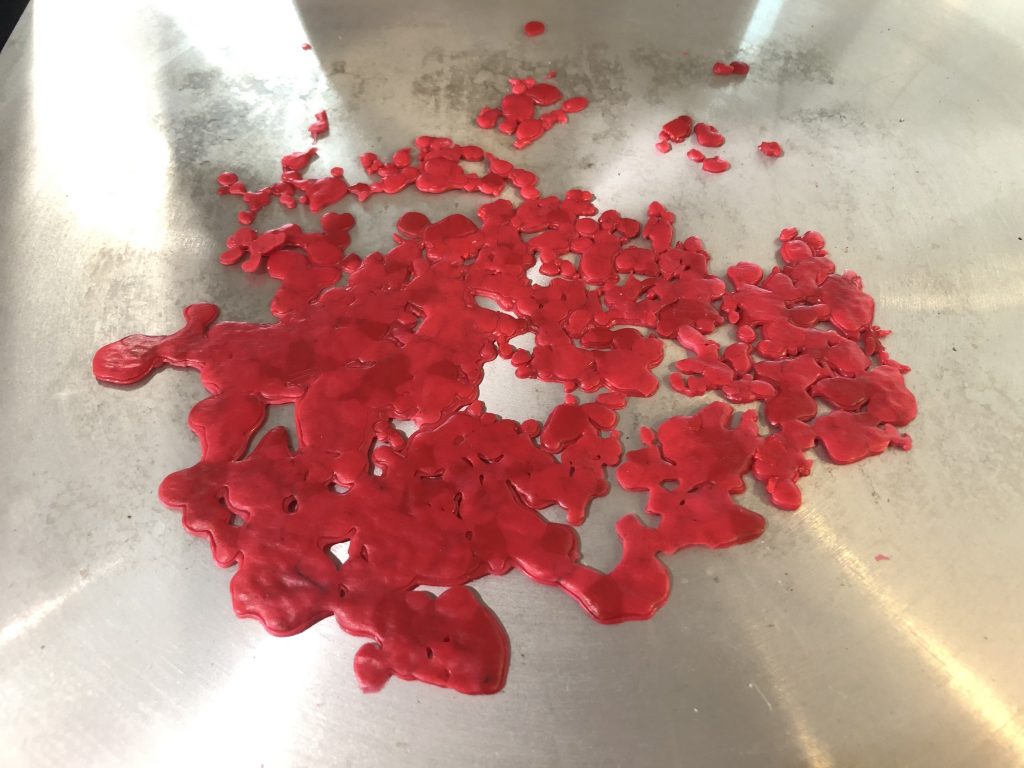
Our results:
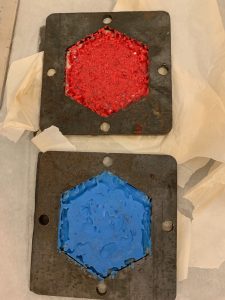
(Before adding the 30 ml of extra plastic)

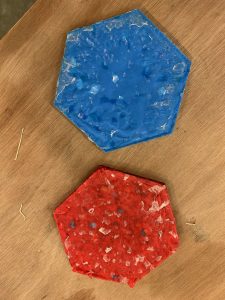
(The final result. Notice that the one on the left has a more even color distribution as compared to the other side, pictured on the left)
Current findings:
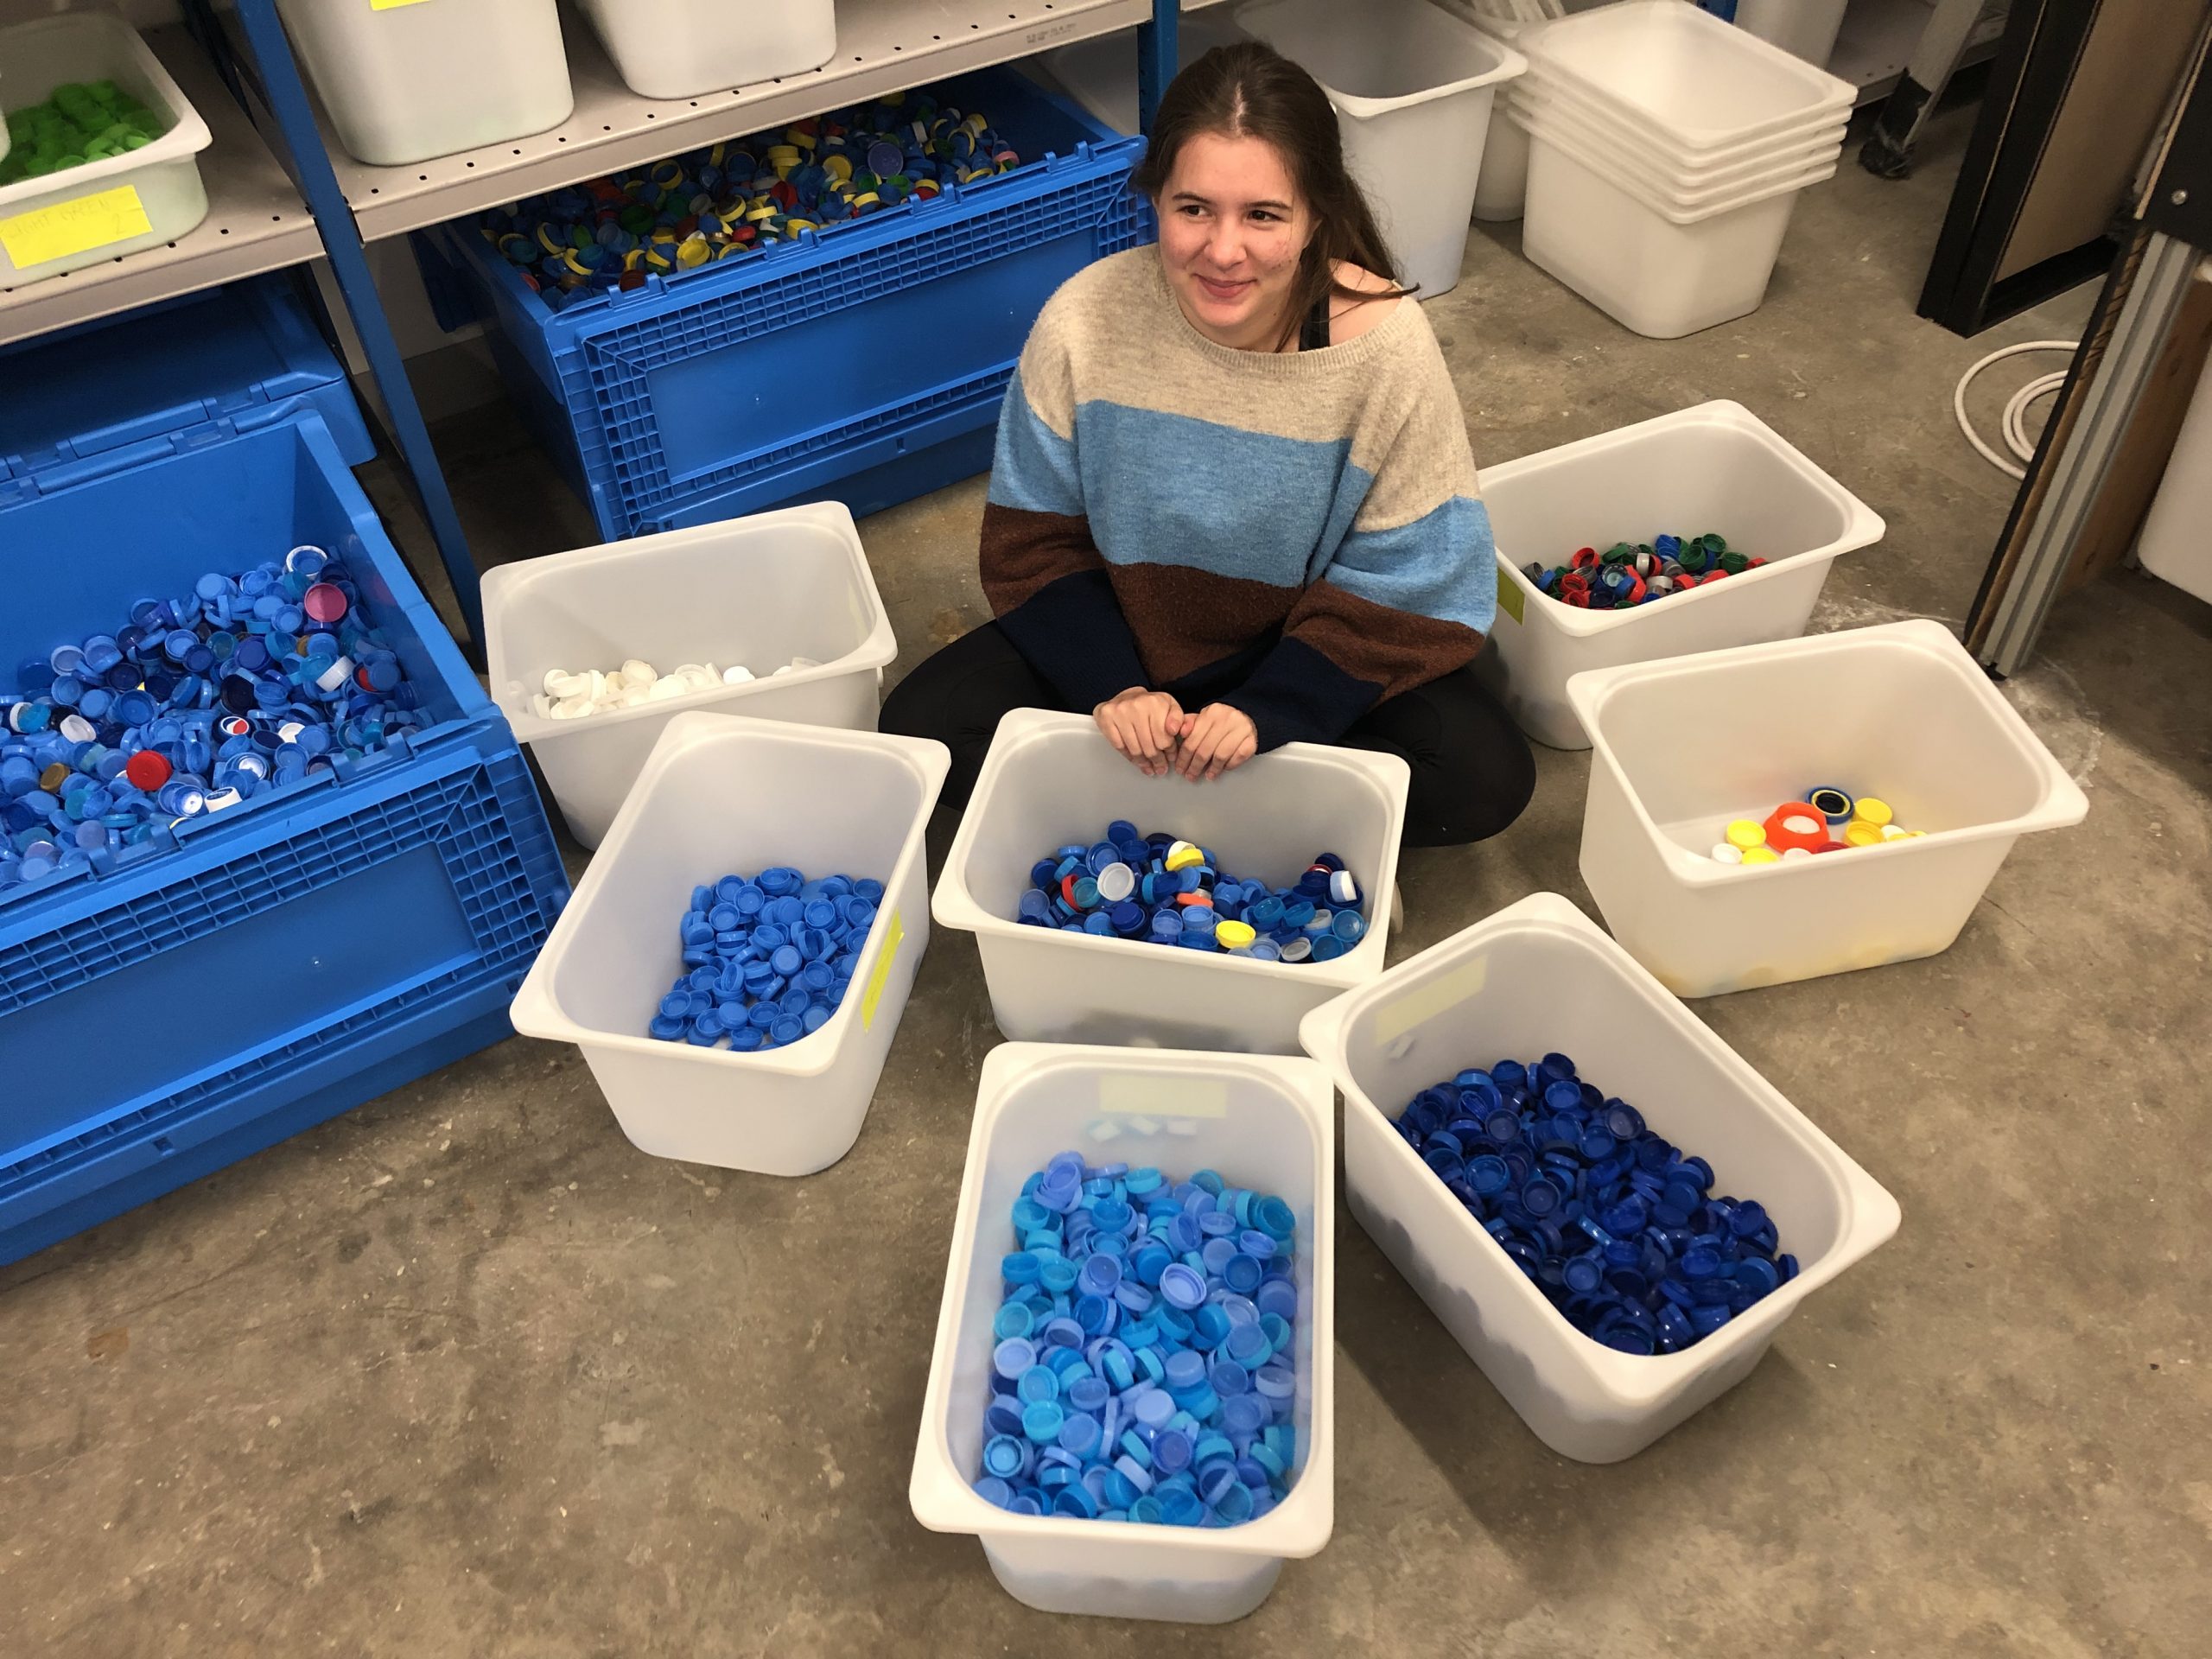
Surprisingly, different colors react differently. This may be because our blue shredded plastic material was mainly comprised of blue Al Ain bottle caps while the red was a conglomerate of different brands. This, we will have to explore in future tests, when considering brands and purity of the plastic used, since some brands may have different manufacturing processes.
Additionally, the top side (before being flipped) tends to not melt evenly; instead, it maintains its speckled design, perhaps making it more interesting than its other side where it more evenly distributes after the second heating. We need to experiment more with these, especially when considering color fusion in future designs.
Finally the use of paper on top of the plastic while it heats seems to add a wavy texture to the melted plastic, most likely due to its expansion during heating and retraction during cooling. Manipulation of the quality of these plastics could lead to more interesting textures in the design of such simplistic shapes.
Future avenues of inquiry:
While there are many different aspects we still have yet to explore, we need to test the characteristics of the plastic within different colors, even becoming more specific to brands, to see if that makes a difference. Beyond this, we would like to explore how color mixing would change the process. Additionally, we need to see how heating the bottom plate (because the bottom plate is not also heated) would affect the overall distibution of color, rather than maintaining a speckled design.